An oil-pressure warning light that stays illuminated can mean a failing pump, a blocked pickup, worn bearings, a faulty sensor, or simply low oil level. Bad oil pump symptoms appear as dropping pressure at idle, rising temperature, valvetrain noise, and loss of hydraulic lifter function—but worn main bearings or diluted oil create identical signs without pump failure. A mechanical pressure test at the engine’s main gallery, compared against your service manual’s specification, separates actual pump wear from conditions that mimic it and prevents unnecessary parts replacement.
Key Takeaways
- Low pressure at idle with normal readings at higher RPM suggests pump wear; low pressure across all speeds typically indicates bearing clearance or oil viscosity problems
- A mechanical gauge at the main gallery gives accurate readings; dashboard gauges and electronic sensors fail independently
- Oil pump failure causes include blocked pickup screens, stuck relief valves, worn drive components, rotor or gear scoring, and contamination from coolant or fuel
- Oil filter media, magnetic drain plugs, and oil appearance reveal contamination that damages pumps and bearings before visible symptoms develop
- Replacing the pump without fixing bearing clearance, oil dilution, or debris sources produces repeat failure
The Symptom Pattern That Deserves Immediate Attention
Pressure that falls at idle and triggers lifter clatter after the engine warms marks the classic sequence. Pressure may recover when you add throttle, but each warm cycle drops the baseline reading. This pattern differs from sensor failure, which shows erratic readings independent of temperature and load, and from bearing wear, which drops pressure uniformly across the entire RPM range from cold start.
When low pressure continues under load, friction and heat build at journal bearings, cam lobes, and rocker arms. Aluminum bearing surfaces gall, and hardened cam lobes lose their case depth as the oil film breaks down. The window between first symptom and permanent damage closes quickly under load, making immediate verification essential.
Verify Oil Pressure before Condemning the Pump
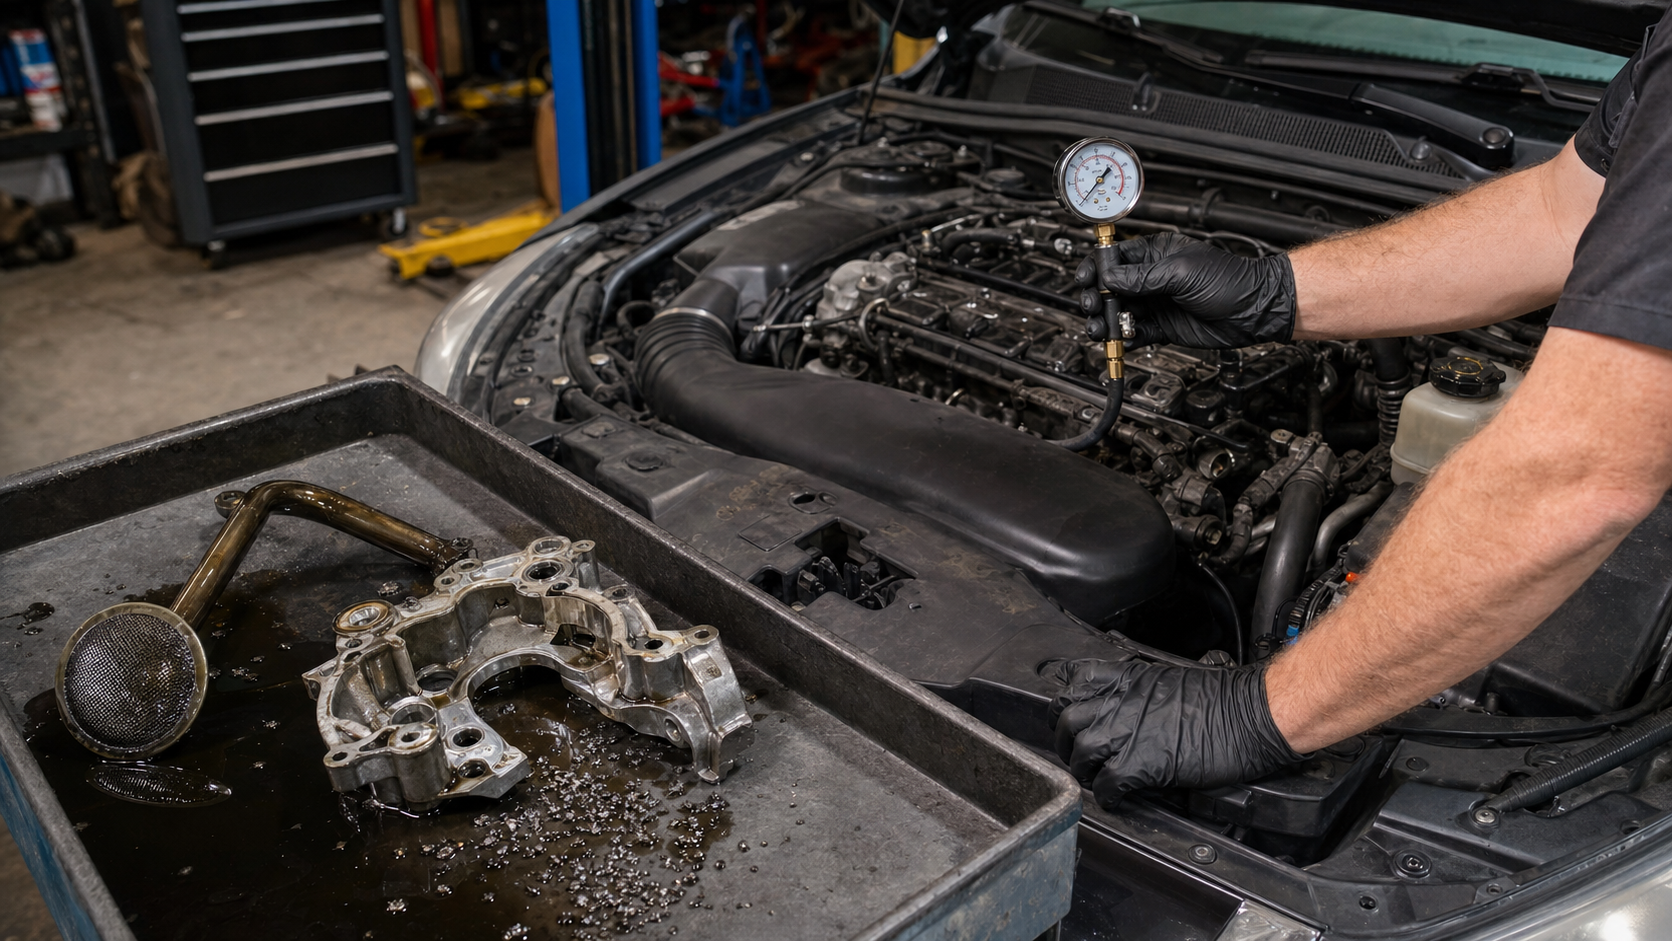
Install a mechanical gauge at the main oil gallery using the sender port or a tapped location specified in your service manual. This direct reading eliminates the dashboard gauge, wiring, and sender as variables. Warm the engine to normal operating temperature according to your thermostat rating, then record pressure at idle and at the cruise speed listed in your service documentation.
Compare readings against the specification table for your engine family. Service manuals list minimum acceptable pressure at idle and at cruise RPM when the engine reaches operating temperature. Pressure below minimum at idle but acceptable at cruise suggests pump wear or relief-valve problems. Pressure below specification at all speeds points toward bearing clearance, oil viscosity, or blockage before the pump.
Before removing covers or pans, verify oil level with the engine off and level, confirm correct viscosity for your operating conditions, and examine the oil for fuel smell, coolant emulsion, or metallic particles. A mechanical test showing acceptable pressure proves the pump functions, even when the dashboard light remains on.
Bad Oil Pump Symptoms by Operating Condition
|
Operating Condition |
Symptom |
Probable Cause |
|---|---|---|
|
Cold start, first 30 seconds |
Normal or slightly low pressure, climbs as RPM rises |
Oil viscosity normal, pump may show early wear |
|
Warm idle, at operating temperature |
Pressure drops below specification, warning light flickers |
Pump clearance excessive, relief valve leaking, or bearing clearance high |
|
Steady cruise |
Pressure remains in specification |
Pump delivery adequate at speed; problem may be idle-bypass or clearance |
|
Acceleration under load |
Pressure drops momentarily, recovers slowly |
Pump cavitation from low level, pickup blockage, or aeration |
|
Deceleration to idle |
Lifter clatter or valvetrain rattle for several seconds |
Pressure drop allows air into hydraulic lifters; pump cannot refill quickly |
Low pressure only at idle, with recovery at higher RPM, shows the pump can still move adequate volume when driven faster but cannot maintain minimum delivery at low speed. This matches worn rotor faces, increased internal clearance, or early relief-valve opening. When pressure stays low across all speeds, the pump may function but cannot overcome excessive bearing clearances or oil leaks past worn rings.
Pickup, Relief Valve, Drive, Wear, and Contamination Failures
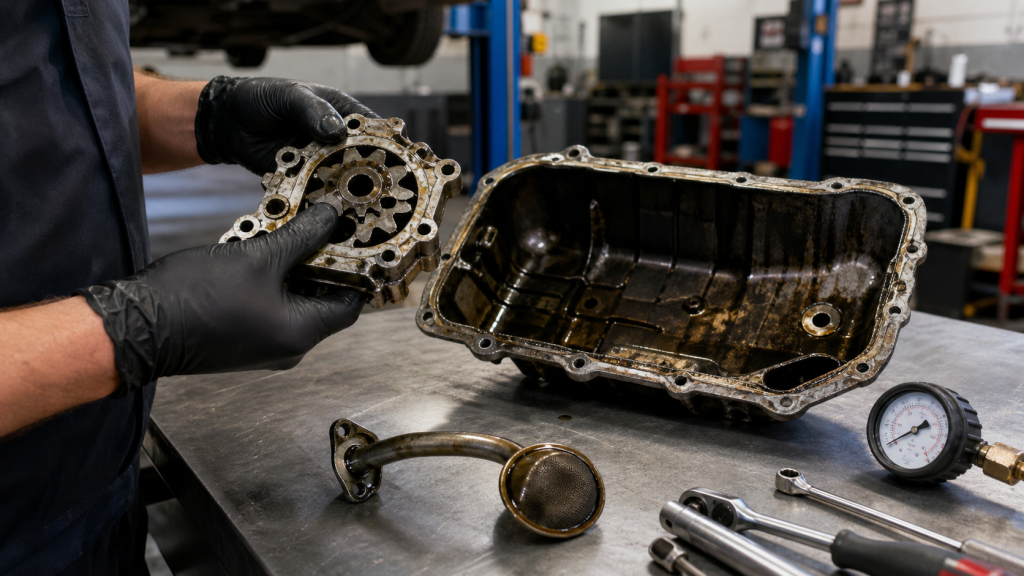
The pickup screen submerged in the sump delivers oil to the pump inlet. Sludge, gasket fragments, or silicone sealant can block the screen and starve the pump, creating low pressure identical to internal wear. Remove the oil pan and inspect the pickup; blockage here does not require pump replacement.
The pressure relief valve opens when pressure exceeds its spring-set limit to protect the filter and galleries. A weakened spring or stuck poppet bleeds pressure at all speeds. Some designs allow relief-valve replacement without full pump disassembly; others require complete pump exchange.
The pump drive connects to the crankshaft or camshaft through gears, chain, or direct shaft. Worn drive components reduce pump speed and output; inspect during front-cover or timing service for worn teeth or loose fit. Internal-rotor and gear-type pumps develop wear on rotor faces, gear flanks, and housing bores. Clearance beyond the service limit allows pressure to bypass internally before reaching the galleries.
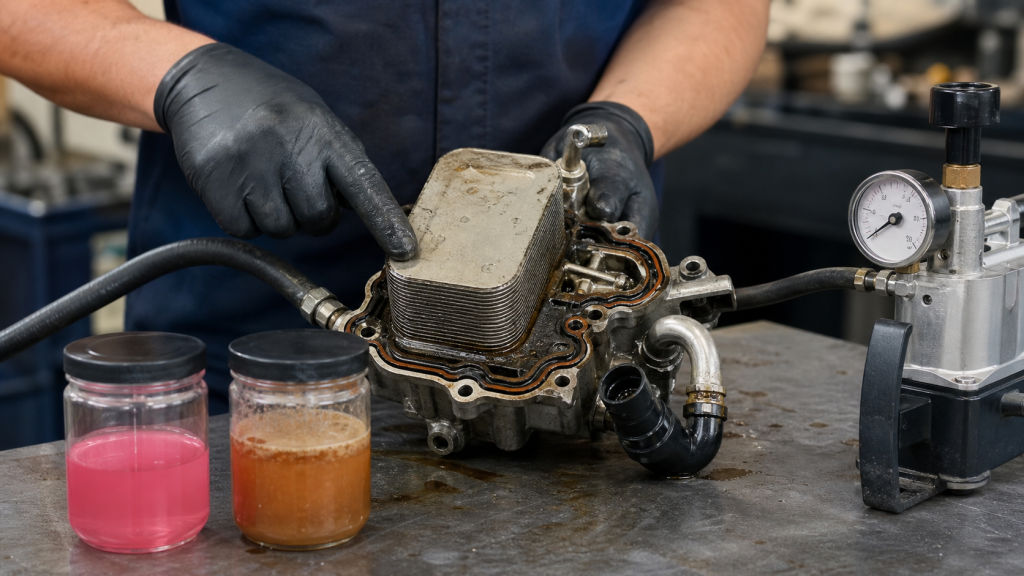
Coolant entering the crankcase through head-gasket leaks or cracked castings emulsifies the oil and reduces its load capacity. Fuel dilution from prolonged idling, failed injectors, or worn rings thins the oil and drops effective viscosity, reducing pressure without mechanical pump failure. Both conditions damage precision-fit pump surfaces over time and leave evidence in drained oil and filter media.
Bearing Clearance and Oil Viscosity Problems That Mimic Pump Failure
Worn main bearings, rod bearings, and cam journals increase clearance between rotating surfaces and bearing shells. Oil flows through this clearance instead of building pressure in galleries, creating a leak path that no pump capacity can overcome. Measure bearing clearance with Plastigage during disassembly or infer it from leak-down patterns during cold starts rather than replacing the pump first.
Oil viscosity drops when fuel dilutes the crankcase, when incorrect seasonal grades are installed, or when oil is overheated and oxidized beyond service life. Fuel-contaminated oil behaves like a thinner grade under load, and reduced film thickness allows pressure to bleed at bearings. Measure fuel dilution with laboratory oil analysis or smell the dipstick sample for gasoline before beginning mechanical work.
An engine that consumed oil steadily, then showed low pressure after topping off with a different viscosity, likely has high bearing clearance rather than pump wear. The thicker previous oil masked clearance by maintaining a thicker film; thinner fresh oil exposed existing wear. A mechanical test showing low readings at all speeds, combined with bearing noise or visible crankshaft end-play, confirms that bearing service is required before or instead of pump replacement.
What to Inspect after Low-Pressure Operation
Brief operation with insufficient pressure damages surfaces that depend on hydrodynamic lubrication. Cam lobes lose their case-hardened layer when the oil film collapses, leaving softened base metal exposed. Scored cam lobes require camshaft replacement, and continued operation transfers metal to the follower face, requiring replacement of both parts.
Main and rod bearings show discoloration, scoring, or embedded particles when pressure drops. The overlay material galls and transfers onto the crankshaft journal, raising the surface and further reducing clearance or creating high spots that fail after reassembly. Measure journal diameter with a micrometer and compare against service manual tolerance to determine whether machining or replacement is necessary.
The pump itself may survive as functional even when delivering insufficient pressure, if the root cause was external blockage or incorrect oil grade. Disassemble the pump and measure rotor-to-housing clearance, gear backlash, and face-to-cover clearance against specifications in the engine service manual. If clearances remain within tolerance and no scoring or embedded debris is visible, reinstalling the same pump after addressing the root cause is acceptable.
Preventing a Repeat Failure
Flush oil passages and galleries before installing a replacement pump or reusing one that passed inspection. Residual debris from the previous failure embeds in new pump surfaces during initial start and accelerates wear. Remove accessible gallery plugs, use solvent or kerosene followed by compressed air, and verify passages are clear by observing flow at drilled oil holes in the crankshaft and camshaft.
Replace the oil pickup screen and tube as an assembly rather than cleaning a clogged screen in place. Screen mesh can tear during handling, and reused tubes may have cracked welds or distorted gasket surfaces. Install the pickup with the clearance specified in your service manual between screen and pan floor to prevent cavitation and ensure adequate supply during acceleration when oil sloshes.
Address contamination sources before returning the engine to service. A head gasket that allowed coolant into oil requires head and block surface inspection and gasket replacement with correct type and torque sequence. Fuel dilution from injector leaks or worn rings requires servicing those components before fresh oil reaches contamination levels that damage the new pump. Inspect the PCV system, valve-cover baffles, and crankcase ventilation passages to ensure proper vapor flow and prevent aeration.
Verify relief-valve setting if the pump design allows adjustment or spring replacement. Some high-performance pumps and certain diesel engines use higher relief pressure than stock, while other applications lower the setting to reduce parasitic load. Installing a pump or valve calibrated for a different engine family causes immediate over-pressure or under-pressure conditions.
Use the oil filter specification listed for your engine rather than substituting a longer or higher-capacity filter from a different application. The filter bypass valve opens when media clogs at a pressure determined by the engine’s lubrication design. A filter with a lower bypass setting opens prematurely and allows unfiltered oil to circulate; one with a higher setting can block flow and starve the engine during cold starts.
When sourcing a replacement pump, confirm the part matches your engine’s specific casting number, production year, and service bulletin updates. Early and late versions of the same engine family may use different pump drives, relief-valve locations, or mounting patterns. Cross-reference the casting or part number on your original pump against the manufacturer’s parts catalog or an OEM-equivalent supplier’s fitment data before ordering.
FAQs
Can a clogged oil filter cause the same symptoms as a bad oil pump?
A restricted filter forces oil through the filter’s bypass valve, allowing unfiltered oil to circulate, but it does not reduce system pressure unless the bypass valve sticks closed. Most filter bypass valves are designed to open under differential pressure to maintain flow, so a gauge reading below specification indicates a problem elsewhere in the system rather than the filter itself.
How does oil pump failure differ between gear-type and rotor-type pumps?
Gear-type pumps use two meshing gears and typically fail from gear-tooth wear or bearing journal wear that allows the gears to move axially and lose contact. Rotor-type pumps use an inner rotor with external lobes inside an outer rotor with internal lobes; they fail from face wear between rotors and cover or from increased clearance between the outer rotor and housing. Both types show the same symptom pattern of low pressure at idle before affecting higher-RPM pressure.
Will switching to high-mileage or thicker oil fix a failing oil pump?
Thicker oil temporarily raises pressure by increasing viscosity and reducing internal leakage within the pump, but it also increases load on the pump drive and reduces flow to tight clearances at startup. High-mileage oils contain seal-conditioning additives that reduce external leaks; they do not repair worn pump clearances. If pressure improves with thicker oil but the pump measures beyond wear limits, the thicker oil masks the problem rather than solving it.
Can you replace just the oil pump without removing the engine?
Most front-mounted pumps driven by the crankshaft or timing chain are accessible with the oil pan and front cover removed, allowing in-vehicle replacement. Rear-mounted pumps or pumps integrated into the timing-cover casting may require engine removal depending on chassis clearance and accessory placement. Check the labor procedure in your service manual for your specific engine and vehicle combination before committing to an in-vehicle repair.
What oil pressure reading at idle means the pump is definitely failed?
No single pressure value condemns the pump across all engines. Compare your mechanical gauge reading against the minimum specification for your engine at normal operating temperature. If measured pressure falls significantly below specification and bearing clearances are within tolerance, the pump is the likely cause. A reading slightly below specification may still function adequately if bearing clearances are tight and the correct oil grade is used.
Conclusion
Diagnosing bad oil pump symptoms requires a mechanical pressure test at the main oil gallery to separate true pump wear from sensor failure, bearing clearance, and oil viscosity issues that create identical warning conditions. Verify oil level, confirm correct viscosity, inspect drained oil and filter for contamination, and compare measured pressure against your service manual specification before committing to pump replacement. When pressure is low, remove the oil pan to inspect the pickup screen, and measure bearing clearances if pressure remains low across all operating speeds—worn bearings or incorrect oil account for more false pump diagnoses than actual internal pump wear. After confirming pump failure through measurement and inspection, source a replacement matching your engine’s exact casting number and production year, address contamination sources that caused the failure, and flush oil galleries before installation to prevent repeat wear from residual debris.