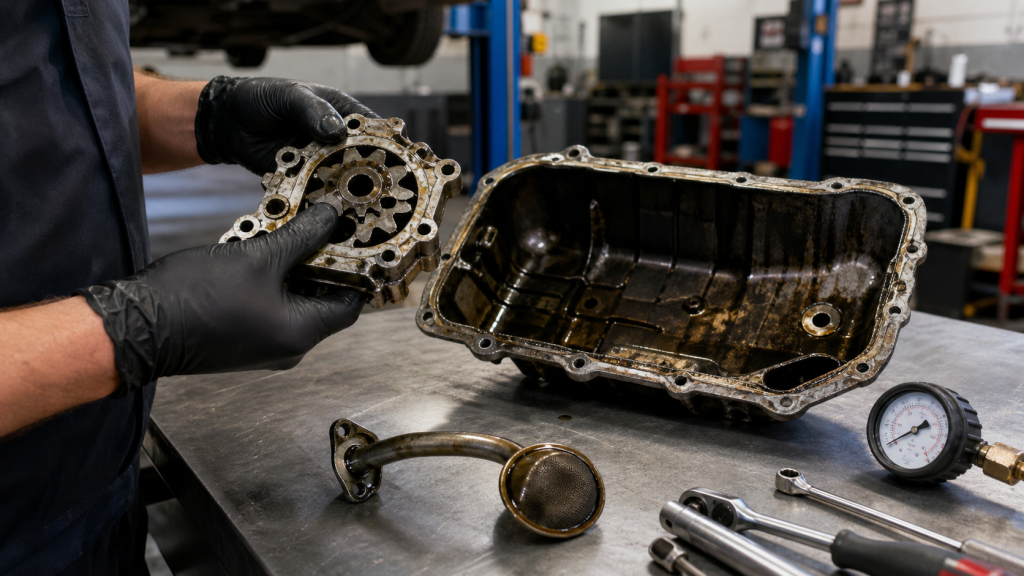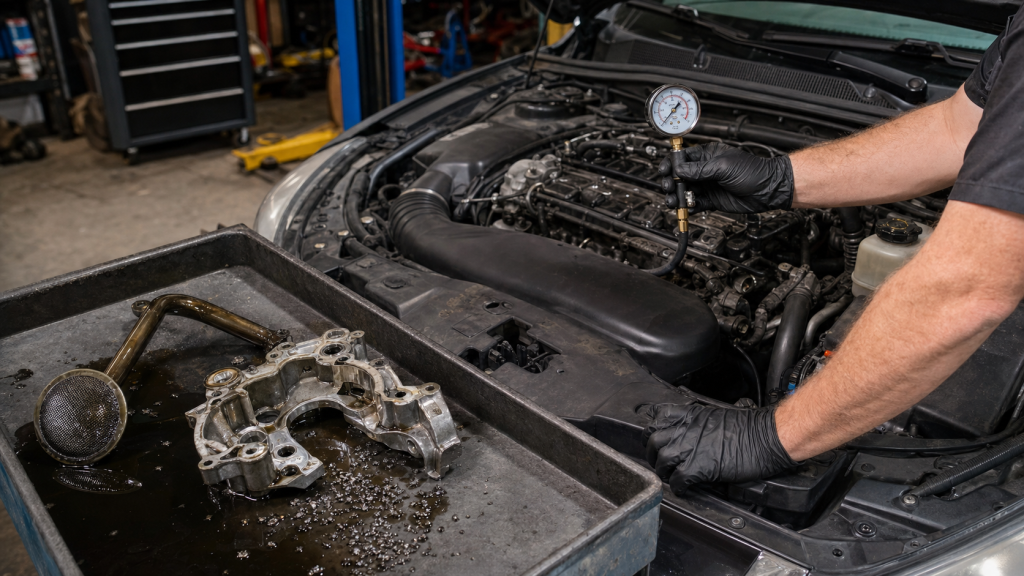
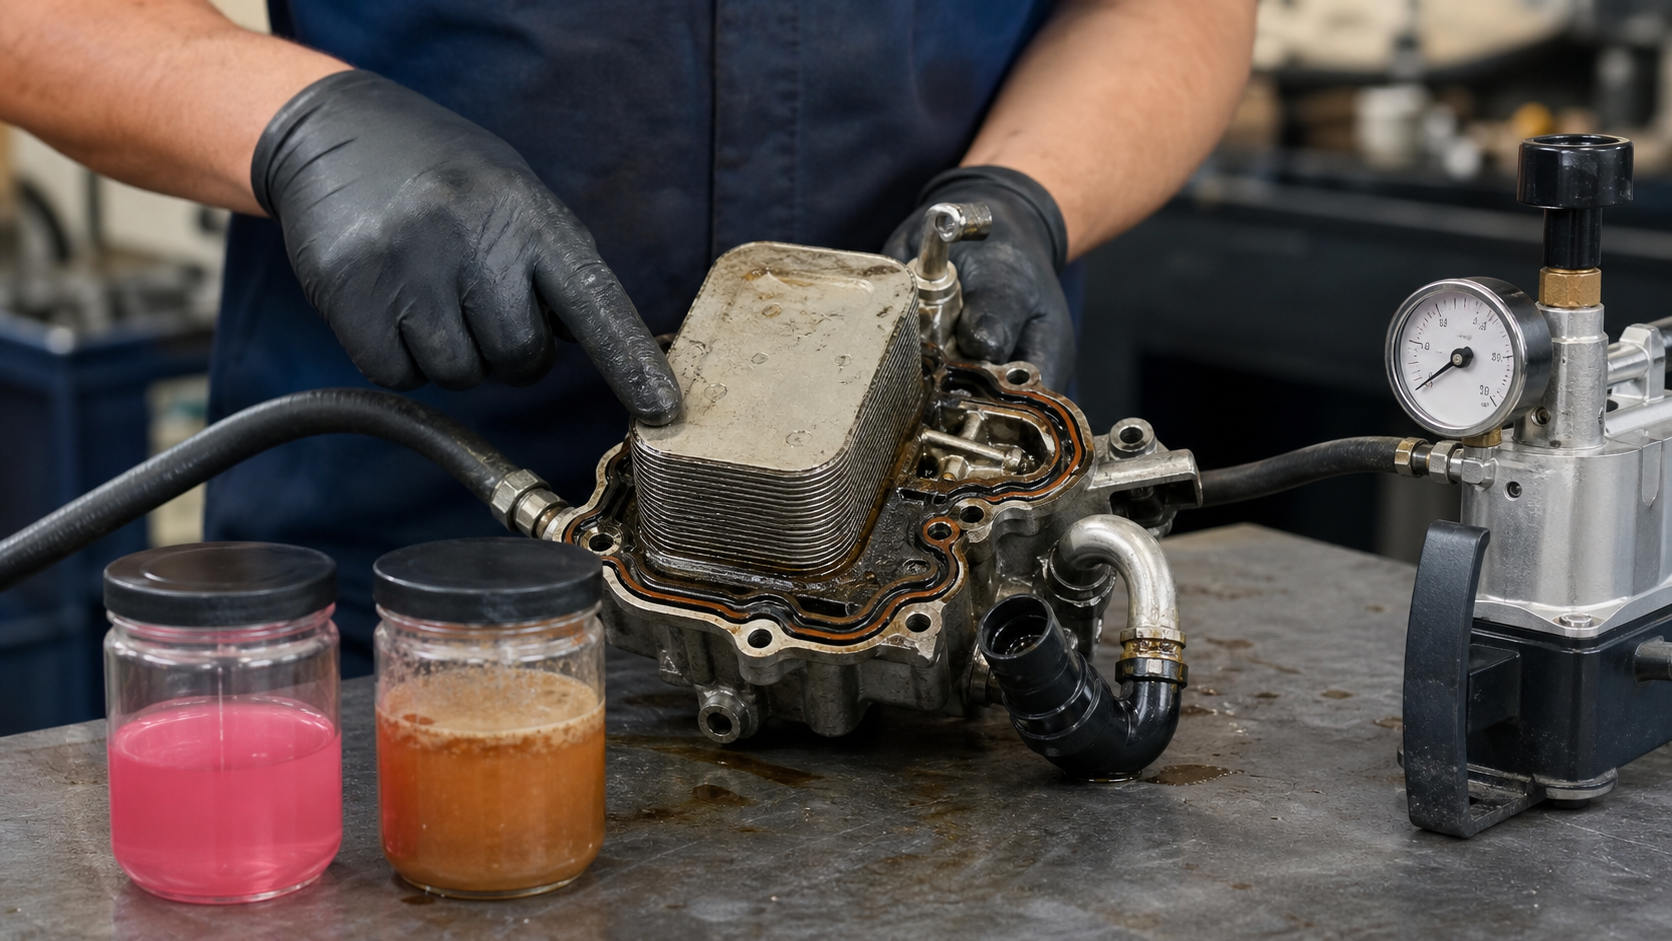
Oil in the coolant expansion tank may signal a failing engine oil cooler, a breached head gasket, or a cracked casting. All three faults allow oil pressure and coolant pressure to cross, but the oil cooler is a serviceable component while the head and block require major teardown. Identifying the actual source before ordering parts prevents wasted labor and determines whether the job is a cooler swap or an engine rebuild. Replacement cost depends on cooler type—tube-and-shell, plate, or adapter-block design—access difficulty, contamination cleanup scope, and whether cooling and lubrication circuits need flushing after the leak is sealed.
Key Takeaways
- Oil coolers fail through external leaks, internal breaches, or restricted heat transfer; internal failures mix oil and coolant while external leaks waste fluid without cross-contamination.
- Pressure testing the cooling system while monitoring oil galleries isolates cooler faults from head gasket and casting damage before disassembly.
- Tube-and-shell coolers often mount externally with simpler access; plate coolers integrated into the block or adapter require engine component removal.
- Replacement scope includes the cooler assembly, gaskets or O-rings, coolant and oil change, flushing contaminated circuits, and verifying that related damage did not spread.
- Access difficulty, flushing requirements, and contamination cleanup drive total cost more than the cooler itself; quotes should itemize each scope element.
Oil Coolers Can Leak Externally, Internally, or Lose Heat Transfer
An engine oil cooler transfers heat from pressurized engine oil to the coolant or ambient air. Most liquid-cooled engines use a coolant-to-oil cooler, placing a thin barrier between two pressurized circuits. When that barrier fails, the higher-pressure side—typically oil during operation—pushes fluid into the coolant circuit, creating the classic milky coolant or oil-in-expansion-tank symptom.
Three failure modes produce different symptoms:
External leaks appear as oil or coolant seepage at cooler mounting flanges, adapter gaskets, or tube connections. External leaks waste fluid and may damage nearby components but do not cross-contaminate oil and coolant.
Internal breaches occur when the separation between oil and coolant passages fails. A pinhole in a tube, corroded plate, or cracked casting allows pressurized oil to enter the coolant side. The result is chocolate milk coolant, oily residue in the expansion tank, or white smoke from the exhaust as coolant vapor burns.
Restricted heat transfer happens when internal passages clog with sludge, casting sand, or corrosion debris. Oil temperature climbs, coolant temperature may stay normal, and the cooler body may feel cooler than it should. No mixing occurs, but thermal protection is lost.
Failure Symptoms by Cooler Design
Cooler construction dictates where oil and coolant can cross and how easily the fault is accessed.
Tube-and-shell coolers mount externally on the block or within the oil-filter adapter. Engine oil flows through small tubes surrounded by coolant. Tube corrosion or braze-joint failure creates the breach. External mounting makes inspection straightforward: milky coolant with no cylinder-head gasket or block-crack evidence points to the cooler. Replacement typically requires draining coolant, disconnecting hoses, and unbolting the assembly from its bracket or adapter.
Plate coolers stack thin metal plates with alternating oil and coolant passages. These coolers are compact and often integrated into the engine block, transmission case, or oil-filter housing. Internal placement hides visual leaks, so diagnosis relies on fluid analysis and pressure testing. Plate corrosion or gasket failure between plates causes mixing. Access may require removing the intake manifold, turbocharger, or oil-filter housing.
Adapter-block coolers place the heat exchanger within the oil-filter mounting base. A spin-on filter threads onto the adapter, and coolant circuits within the adapter casting surround the oil path. Adapter cracks or O-ring failures between the adapter and block create the breach. Symptoms match other internal leaks, but replacement is simpler: remove the oil filter, unbolt the adapter, replace O-rings and gaskets, then reinstall. Some diesel and heavy-duty gasoline engines use this layout, and aftermarket upgraded adapters are common.
Identifying cooler type from the engine family and service manual narrows the diagnostic path and sets realistic labor expectations.
Tests That Separate Cooler Failure from Head or Gasket Damage
Oil in coolant appears when any barrier between lubrication and cooling circuits fails. The oil cooler, cylinder-head gasket, and block or head casting all contain pressurized boundaries.
Cooling-system pressure test with oil observation applies regulated air pressure to the cooling system while the engine is cold, following the vehicle manufacturer’s pressure specification. Monitor the oil-filler cap, dipstick tube, and crankcase breather while holding pressure. If pressure appears in the oil side or the cooling system loses pressure without external drips, a path exists between the two circuits. This test confirms a breach but does not locate it.
Compression and leak-down tests verify cylinder sealing. Low compression in adjacent cylinders or leak-down air bubbling into the coolant suggests head-gasket failure between a cylinder and coolant jacket. Normal compression and leak-down results with continued oil-coolant mixing point to the oil cooler or a casting crack away from the combustion chambers.
Coolant-in-oil versus oil-in-coolant pattern narrows the source. When oil pressure exceeds coolant pressure during operation, oil migrates into coolant first. A failed oil cooler produces oily coolant with minimal coolant in the oil. Head-gasket failure between a cylinder and coolant jacket often allows combustion pressure to push coolant into the oil, creating a mayonnaise-like emulsion on the oil cap and milky oil on the dipstick. If both fluids are heavily contaminated, the breach is large or has been leaking for an extended period.
Dye testing injects ultraviolet dye into the cooling system, then inspects the oil filter, oil pan, and crankcase with a UV lamp after a short run. Dye in the oil confirms coolant intrusion. If dye appears without corresponding cylinder misfires or compression loss, the cooler is the likely path.
Visual and thermal inspection works on external coolers. Remove hoses and look for oily residue inside coolant passages or coolant inside oil passages. An infrared thermometer can reveal a cold spot on the cooler body where internal blockage stops flow.
These tests, combined with service-history records, provide measurable evidence before committing to cooler replacement or engine teardown.
What Replacement Usually Includes
A complete oil cooler replacement includes the cooler assembly, all gaskets or O-rings, engine oil and filter, coolant, and labor to remove, install, and test the system. Some jobs also require flushing contaminated circuits.
Cooler assembly may be a standalone heat exchanger with inlet and outlet fittings, a plate stack with new gaskets, or an adapter-block assembly with internal passages. OEM and aftermarket units are available; performance or heavy-duty variants may offer improved materials or higher capacity.
Gaskets and seals include cooler-to-block gaskets, O-rings at coolant and oil connections, and sometimes oil-filter adapter seals. Reusing old seals invites repeat leaks, so replacement kits bundle all required seals for the specific engine.
Oil and filter are replaced because contamination from the failed cooler may have introduced coolant emulsion or metal debris. Fresh oil and a new filter restore lubrication quality and remove suspended contaminants.
Coolant is drained, the system is refilled, and air is bled from the cooling circuit. If oil contaminated the coolant heavily, a flush removes residue from the radiator, heater core, and block jackets before refilling with fresh coolant.
Pressure and leak testing verifies the repair. The cooling system is pressurized to check for external leaks, then the engine is run to operating temperature while monitoring for oil-coolant mixing, temperature stability, and proper oil pressure.
Access, Parts, Fluids, and Flushing Cost Drivers
Replacement cost splits into parts, fluids, labor, and cleanup. Each driver scales with engine family, cooler location, and contamination severity.
Parts cost varies with cooler design complexity and OEM versus aftermarket sourcing. Simple adapter assemblies cost less than integrated plate coolers or large tube-and-shell units. Aftermarket upgraded coolers for known-weak designs may cost more but offer improved durability. Gasket kits add to the total depending on the number and type of seals required.
Fluids include engine oil appropriate for the application, one oil filter, and coolant matching the system specification. High-performance or diesel-specific fluids increase cost. Flushing chemicals or additional coolant for a second fill extend fluid expense.
Labor hours depend on access. External cooler replacement on engines with straightforward mounting may complete in a few hours; integrated coolers requiring intake, turbocharger, or oil-pan removal can extend to a full day. Regional shop rates vary significantly. One documented 6.0 Powerstroke oil cooler replacement noted part costs from $143 to $1,318 depending on kit content, with labor adding several hundred dollars for professional installation—a case study illustrating how component selection and included scope affect total cost.
Flushing requirements extend labor and parts when oil contaminated the cooling system or coolant emulsified the oil. A cooling-system flush removes oily residue from the radiator and heater core. An engine-oil flush or short-interval oil change removes coolant residue from the crankcase. Multiple drain-and-fill cycles may be necessary, multiplying fluid costs.
Additional components add expense when inspection reveals related damage. Radiator hoses, heater hoses, thermostats, water pumps, or oil-pressure sensors may need replacement if contamination or overheating damaged them. Turbocharger oil-feed lines on diesel engines sometimes require cleaning or replacement if sludge from cooler failure reduced flow.
Quotes should itemize the cooler assembly, seals, fluids, labor hours, flushing scope, and any related parts so cost can be compared accurately across shops and repair options.
Contamination Cleanup and Follow-Up Checks
Installing a new cooler stops the leak but does not remove contamination already circulating in oil and coolant systems. Incomplete cleanup leaves emulsion, sludge, or debris that can damage bearings, valve-train components, or the replacement cooler.
Cooling-system flush removes oil residue from the radiator, block jackets, heater core, and hoses. A chemical flush solution circulates through the system, then drains. The system is refilled with water, run to temperature, drained again, and finally filled with fresh coolant. Skipping this step leaves oily film on coolant passages that can insulate heat-transfer surfaces and reduce cooling efficiency.
Oil-system cleanup addresses coolant emulsion in the crankcase. The first oil change after cooler replacement should occur within a short service interval to remove suspended coolant and contamination byproducts. An engine-oil flush additive or diesel fuel rinse may be used in severe cases, followed by another oil and filter change. Some technicians prefer two back-to-back oil changes without flush chemicals to avoid introducing solvents.
Bearing and turbocharger inspection is necessary when contamination was severe or went undetected for weeks. Coolant in oil reduces lubrication film strength and promotes corrosion. Main and rod bearings may show wiping, scoring, or corrosion patterns. Turbocharger journal bearings are vulnerable because tight clearances and high speeds accelerate wear when oil quality degrades. If bearing damage is suspected, an oil analysis or borescope inspection through the oil drain or turbo oil-feed port provides evidence without full teardown.
Follow-up oil analysis after initial post-repair operation confirms the system is clean. Elevated coolant markers—sodium, potassium, or glycol—indicate continued leakage or incomplete cleanup. Rising metals like iron, copper, or aluminum signal wear from lingering contamination or a separate mechanical issue.
Proper cleanup prevents secondary damage and verifies that the replacement cooler is functioning correctly.
When the Engine Needs Further Inspection
Oil cooler replacement assumes the mixing fault is isolated to the cooler and that contamination has not caused permanent damage elsewhere. Several conditions require deeper inspection or engine teardown.
Coolant intrusion exceeded safe limits. If the engine ran for extended periods with heavy coolant in the oil, bearing surfaces may be corroded or worn. Normal oil pressure readings do not confirm bearing integrity. An oil analysis showing high coolant content before the repair, combined with operating time under that condition, suggests bearing inspection. If the engine was shut down immediately after noticing symptoms, cleanup without teardown is usually safe.
Persistent mixing after cooler replacement. When fresh coolant or oil continues to cross-contaminate after the cooler and all seals are new, the fault lies in the head gasket, a cracked head, or a cracked block. Pressure testing and leak-down testing narrow the location. Cylinder-head removal for gasket replacement or crack inspection becomes necessary.
Abnormal oil consumption or smoke. Coolant burning in the combustion chambers creates white exhaust smoke. If smoke persists after the cooler is replaced and the cooling system is clean, a head gasket or casting crack is the likely cause. Compression and leak-down tests confirm the cylinder-to-coolant path.
Scoring or debris in the oil pan. When draining oil during cooler replacement, visible metal particles, bearing material, or scoring on the drain plug indicates wear beyond the cooler. An inspection through the drain port or oil-pan removal reveals the extent of bearing damage. Further teardown for bearing replacement may be necessary.
Turbocharger shaft play or noise. Contaminated oil accelerates turbocharger bearing wear. Excessive radial or axial play in the turbo shaft after cleanup suggests the turbocharger needs rebuilding or replacement. Testing involves pushing the turbine or compressor wheel and feeling for movement.
Radiator or heater-core blockage. Heavy oil contamination in the cooling system can clog radiator tubes or heater-core passages. If coolant flow is restricted or temperature control is erratic after cooler replacement and flushing, the radiator or heater core may need replacement or professional cleaning.
Defining these boundaries before starting work prevents underestimating the repair scope and sets realistic expectations for parts and labor.
FAQs
Can I drive with a leaking oil cooler?
Driving with an internal oil cooler leak contaminates both fluids and risks bearing damage. Oil diluted with coolant loses film strength, and coolant mixed with oil loses thermal capacity. External leaks are less critical but still waste fluids and may damage components with hot oil spray. Short trips to a repair facility are acceptable; continued operation is not.
How do I know if the cooler is leaking internally or externally?
Internal leaks mix oil and coolant, creating milky coolant or oily residue in the expansion tank. External leaks appear as oil or coolant seepage at mounting points or connections without cross-contamination. Pressure testing the cooling system while monitoring the oil side confirms internal leaks when no external drips are found.
Do all oil coolers require coolant flushing after replacement?
Flushing is necessary when oil heavily contaminated the cooling system. Light contamination may clear with a single coolant drain-and-fill. Severe contamination leaves oily residue that reduces heat transfer and may clog passages. Inspect drained coolant; if it is heavily emulsified or contains visible oil, flush the system before refilling.
Are aftermarket oil coolers as reliable as OEM parts?
Aftermarket coolers range from direct OEM equivalents to upgraded designs addressing known failures. Units from established suppliers often match or exceed OEM durability. Upgraded coolers for engines with high failure rates—such as certain diesel platforms—may offer improved materials, larger capacity, or better sealing. Match the cooler to the engine family and verify fitment before purchasing.
What causes oil coolers to fail more often on some engines?
Design weaknesses, poor coolant maintenance, and sustained high temperatures accelerate failure. Engines with coolers integrated into the block or valley cover may run hotter, promoting corrosion. Diesel engines with elevated oil pressure and operating temperatures stress cooler seals and tubes. Coolant contaminated with rust or scale erodes thin-walled tubes from the inside. Some engine families have documented weak points addressed by aftermarket upgraded coolers.
Conclusion
Oil cooler failure requires isolating the fault from head gasket or casting damage before replacement. Pressure testing the cooling system while monitoring oil galleries confirms whether the breach is in the serviceable cooler or the permanent engine structure. Replacement cost depends on cooler type, access difficulty, contamination cleanup scope, and whether related components need attention. Request quotes that itemize the cooler assembly, seals, fluids, labor hours, and flushing requirements so scope and price can be compared accurately. After replacement, follow-up oil analysis within initial post-repair operation verifies that contamination is eliminated and that no secondary damage is developing. Document test results, fluid condition, and inspection findings at each step to support decisions and avoid repeating failed approaches.